


Create and publish a location
Create a branch, fill in its details and decide when to make its menu public.
A location is a branch with its own orders, kitchen and payments. Every location belongs to a brand, even if your business has only one branch. You need permission to create locations and room under your plan's limit.
Create a location from the brand
- Choose the brand with Switch place.
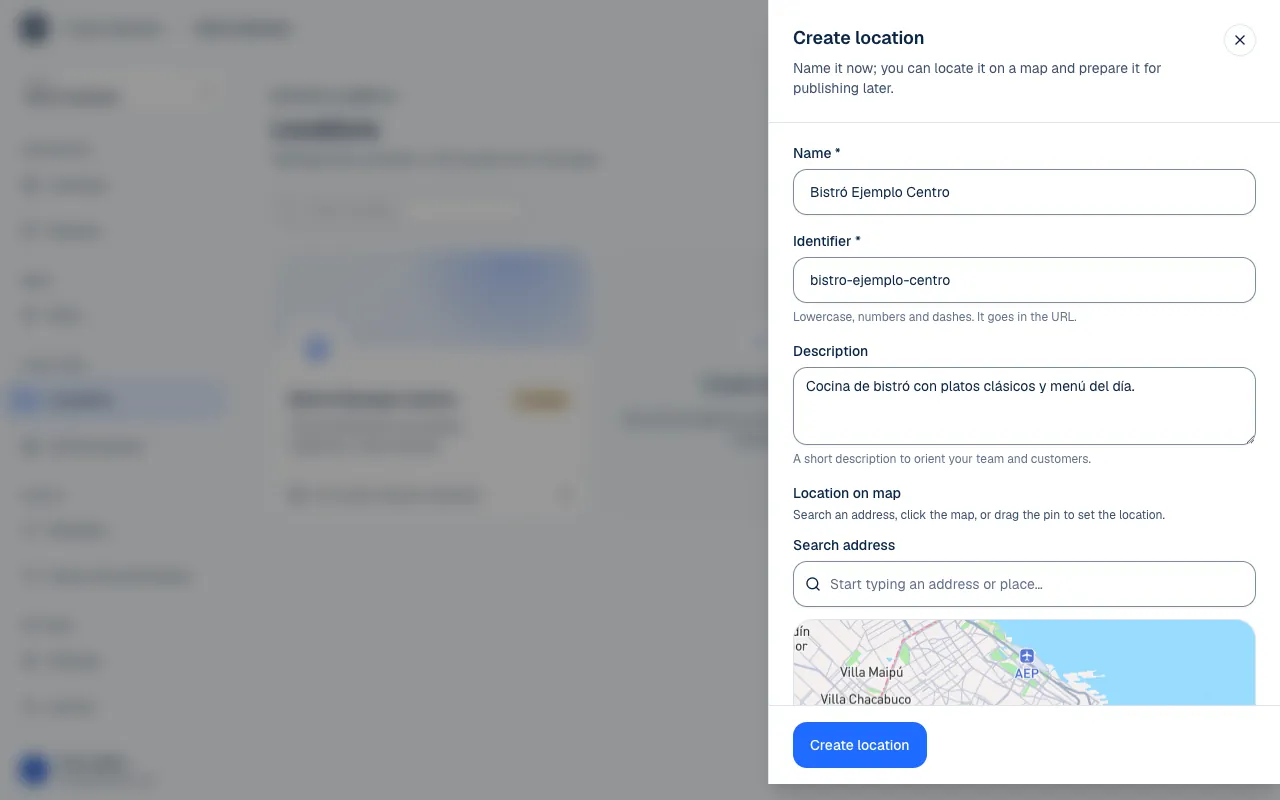
- Open Locations and select Create location.
- Enter a Name and review the Identifier.
- Select Create.
- Open the location and go to Settings → General to complete its details. Only the Name and the Identifier are required; you can fill in the rest whenever you like.
The location starts In setup. You can prepare its menu and operations without making them public. A new location uses one of the organization's location slots; it does not create a new brand.
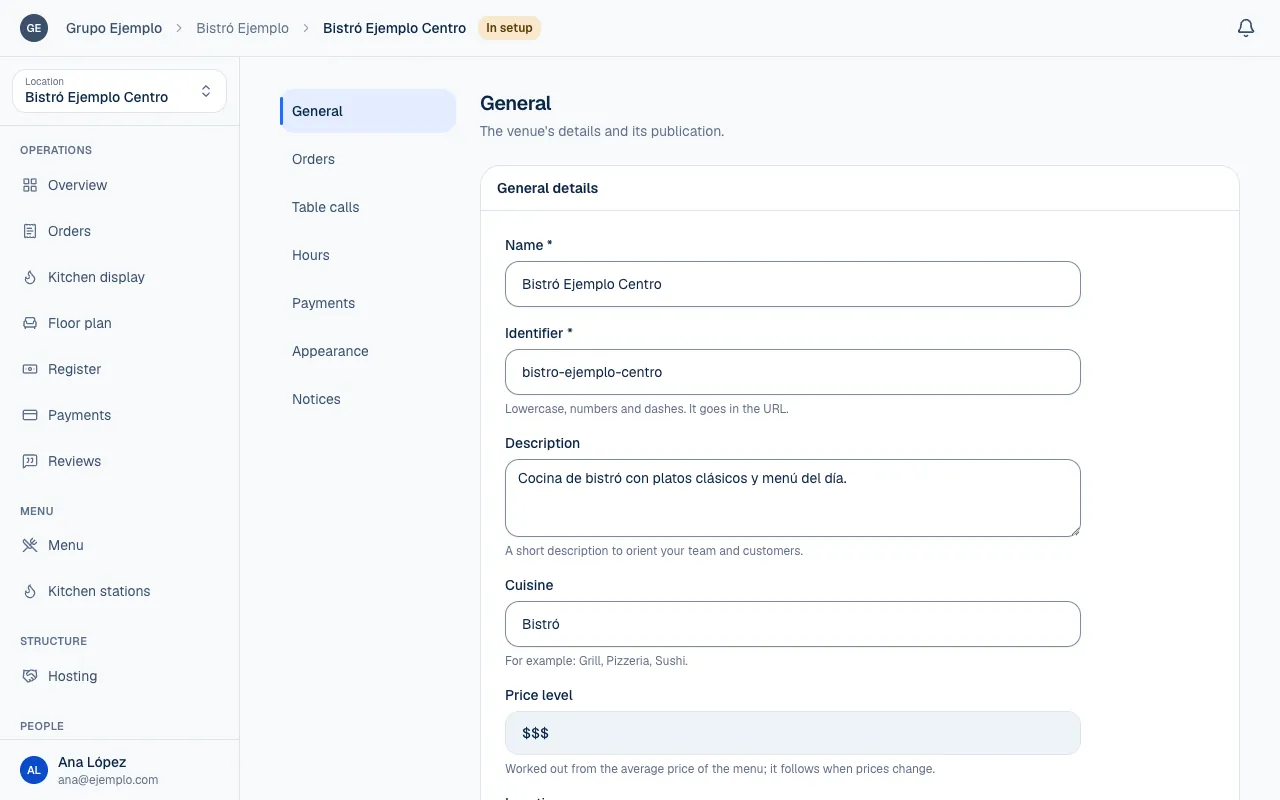
General details
| Detail | What it is for |
|---|---|
| Name | Identifies the branch for the team and customers. |
| Identifier | Part of its web address; uses lowercase letters, numbers and hyphens. |
| Description | A brief introduction to the location. |
| Cuisine | For example, Grill, Pizza or Sushi. |
| Price level | Calculated from the menu's average price; you do not enter it manually. |
| Location on map | Places the location on the map. Search for an address, select a point on the map or move the pin. |
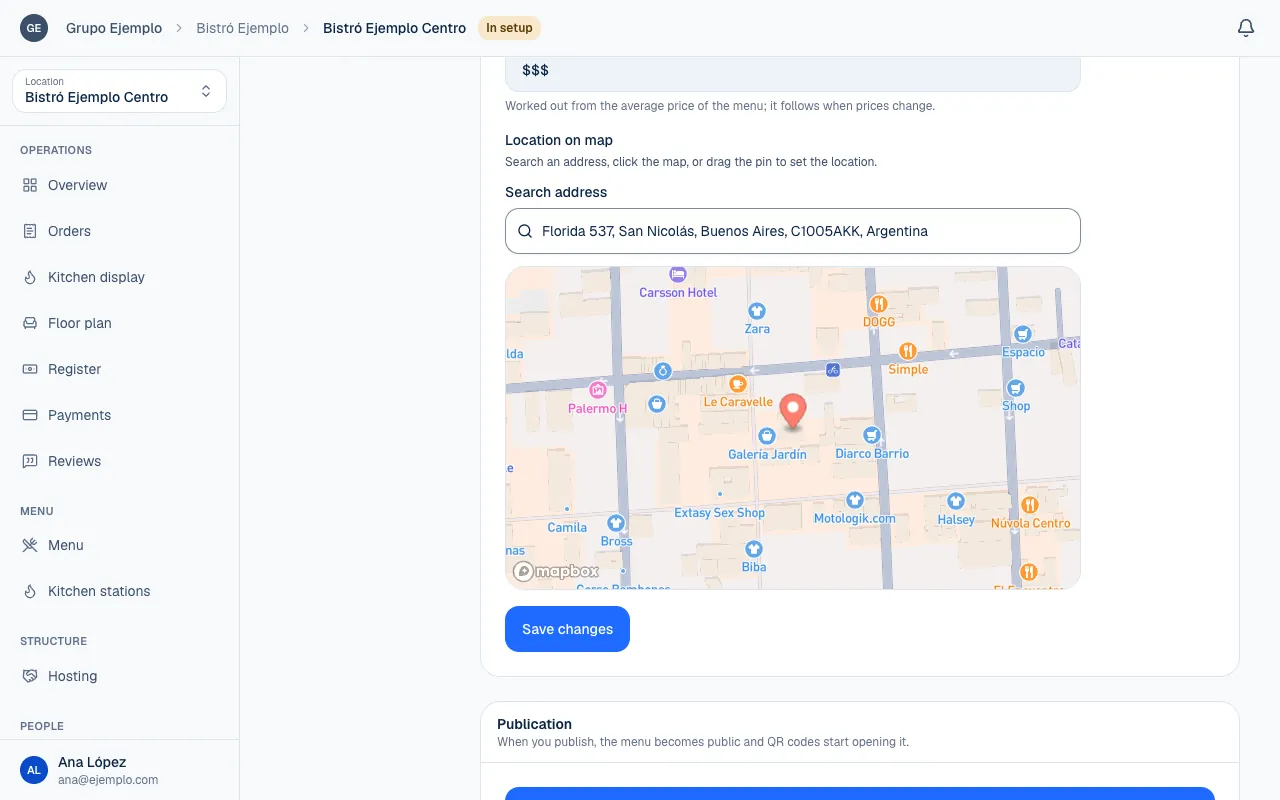
Save forms with Save changes. If the price range is missing, add products to the menu first. It appears once there are items and changes with their prices.
The logo and colors come from the brand. Under Appearance, you can add a cover image just for this location. If you do not add one, it uses the brand's cover. These settings accept PNG, JPG and WebP images.
Publish the menu
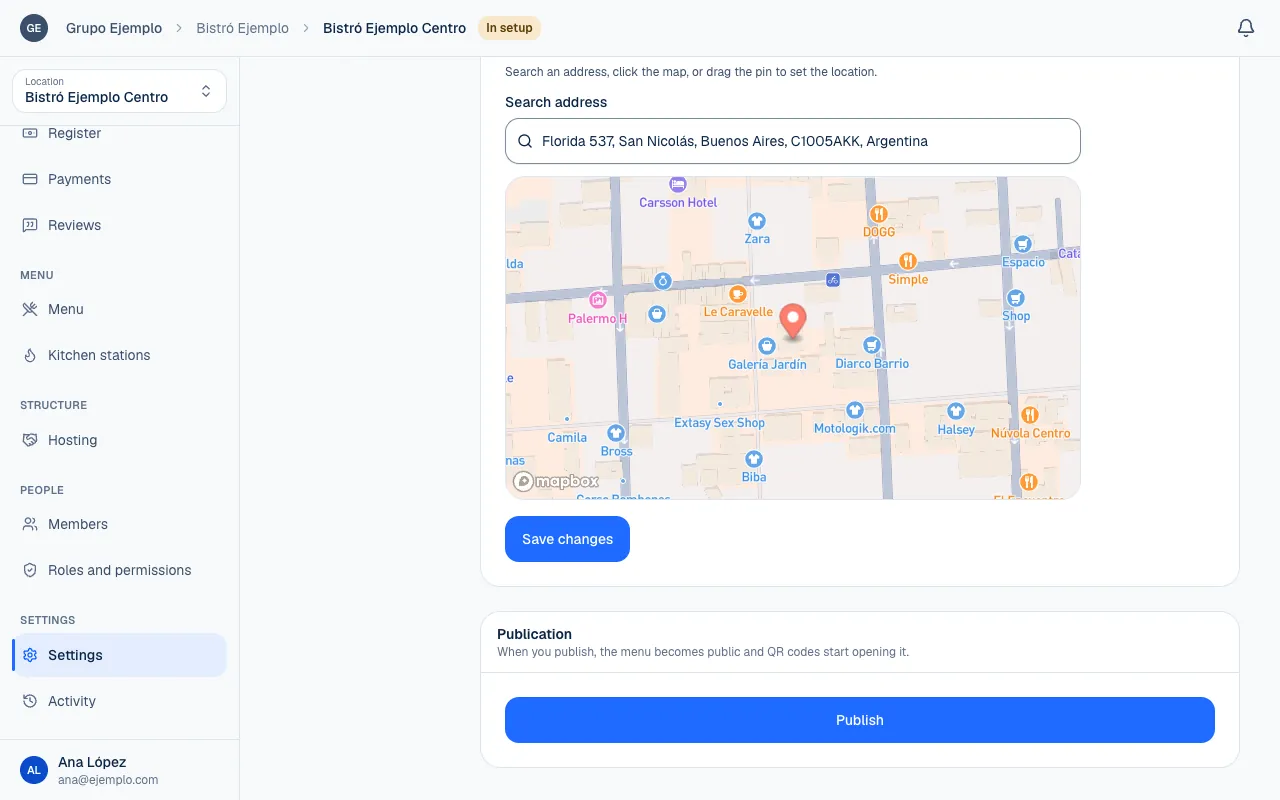
Under Settings → General, find Publication and select Publish. The menu becomes public and table QR codes start opening it. Select Unpublish to hide it again.
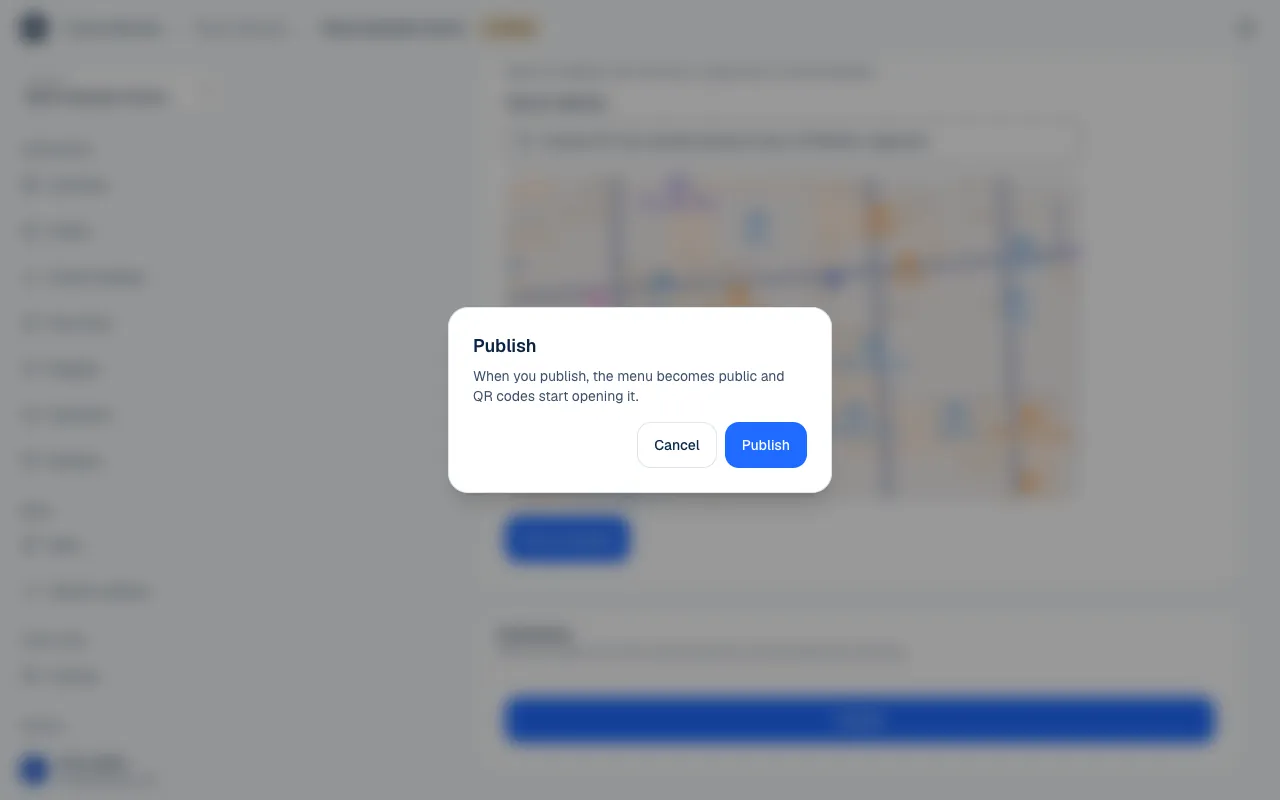
Publishing and taking orders are separate decisions. To receive new online orders, the location and its parent places must allow orders, a payment method must be active, it must be within its opening hours, and the plan must allow new orders. A pause stops orders too. Each condition is covered in Configure orders, Choose payment methods, Opening hours and Choose and review a plan.
Archive and restore a location
Select Archive when the location stops operating. The confirmation explains that it will no longer be available for operations and can be restored later. Archiving does not delete its history. Team members with access can view it, but cannot make changes while it is archived. It is no longer available to customers.
In the locations list, turn on Show archived, find the branch and select Restore. Restoring it uses a location slot under the plan again. If there is no room, Piqero tells you; it does not remove another location to make space.
If something isn't working
- That identifier is already taken. Another place already has that web address. Choose another identifier.
- You've reached what your plan includes. The plan has no room for another location, when you create one or restore one. Archive one you do not use, or review the plan.
- This venue is archived. Everything is visible, but nothing can change. Restore it as described in Archive and restore a location.
- The venue couldn't be created. Try again. Wait a moment and try again.
- The menu does not open when you scan a table: check that the location is published and follow If the code does not open the menu.
If the problem continues, email support@piqero.app (opens in a new tab). Help and support lists what to include.